DIY
It's always been my secret shame that I make my living as a structural design engineer yet I have very little expertise for fix-it projects around the house. Luckily Steve knows this about me and always asks if I'd like to take the reins when something comes up. A month ago I replaced our toilet flush mechanism with a dual-flusher. (It should have only taken a screw driver at most but somehow the original handle was all jacked and I ended up using pliers, wire cutters, and a hacksaw. Tools!!) Then during the last ferocious Front Range wind storm our fence gate was torn from it's hinges, and after closer inspection we realized it would be best to just replace the entire gate. Steve asked if I wanted to be project lead and I agreed...but I didn't know where to start.
So like any good project, we started at Home Depot.
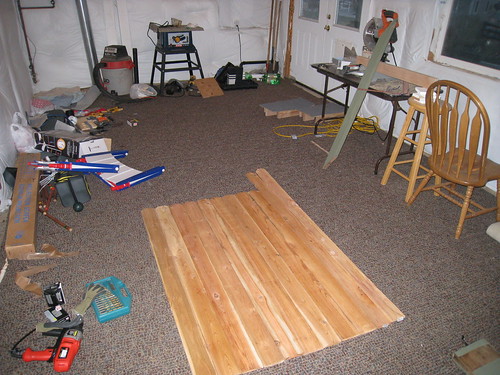
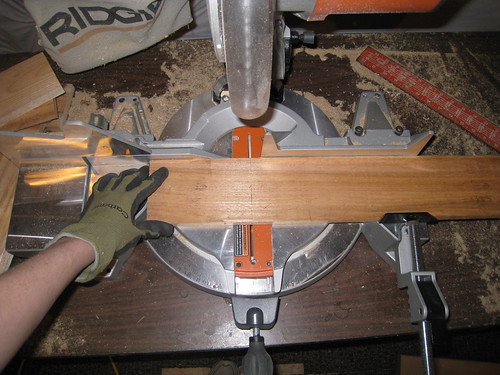
I marked all the planks to length to match the curved pattern of the original gate and then started cutting them with our sweet compound miter saw. Yes I know these are straight cuts.
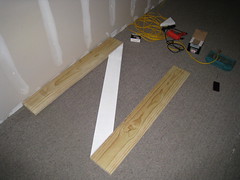
I laid out the top of the "Z" support structure...
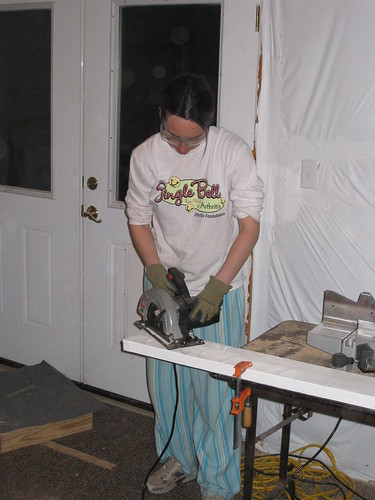
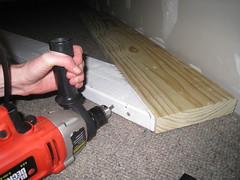
...and scared myself cutting the center diagonal member with a circular saw. It doesn't help that I personally know someone who swiped back with one of these guys and right into his thigh. I made Steve supervise the whole process.
Somehow it actually fit together.
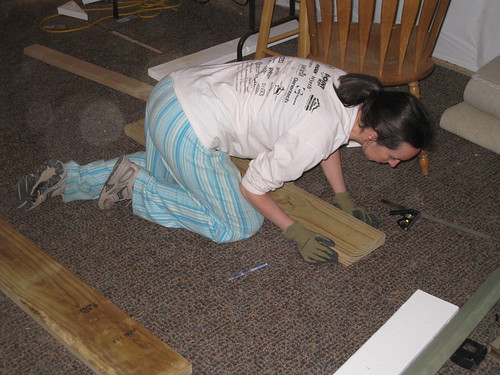
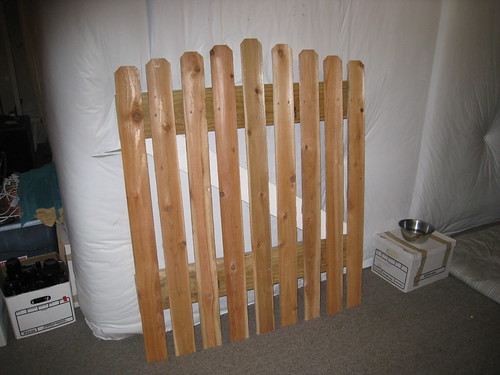
Once all the pieces were cut it was really easy to just lay them out and screw them in place.

I was going to measure the exact spacing between the planks but finally I just said screw it and eyeballed the whole thing. I think it came out fine.
Slap a coat of paint on that puppy and you got yourself a gate!
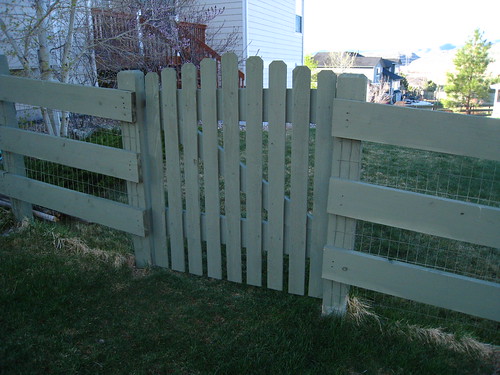
And DIY self esteem.

posted by Ferg @ 7:37 PM
0 comments
![]()
![]()


0 Comments:
Post a Comment
<< Home